
 Pin it
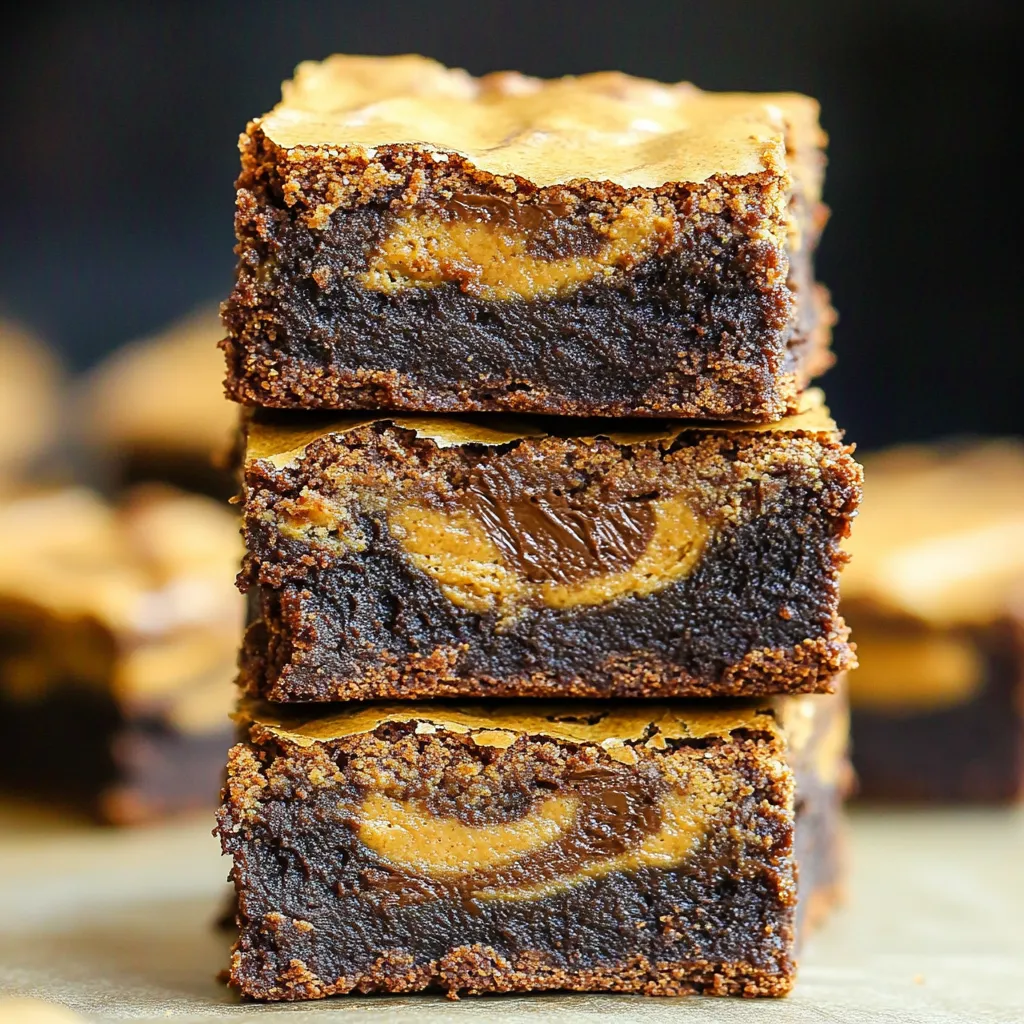
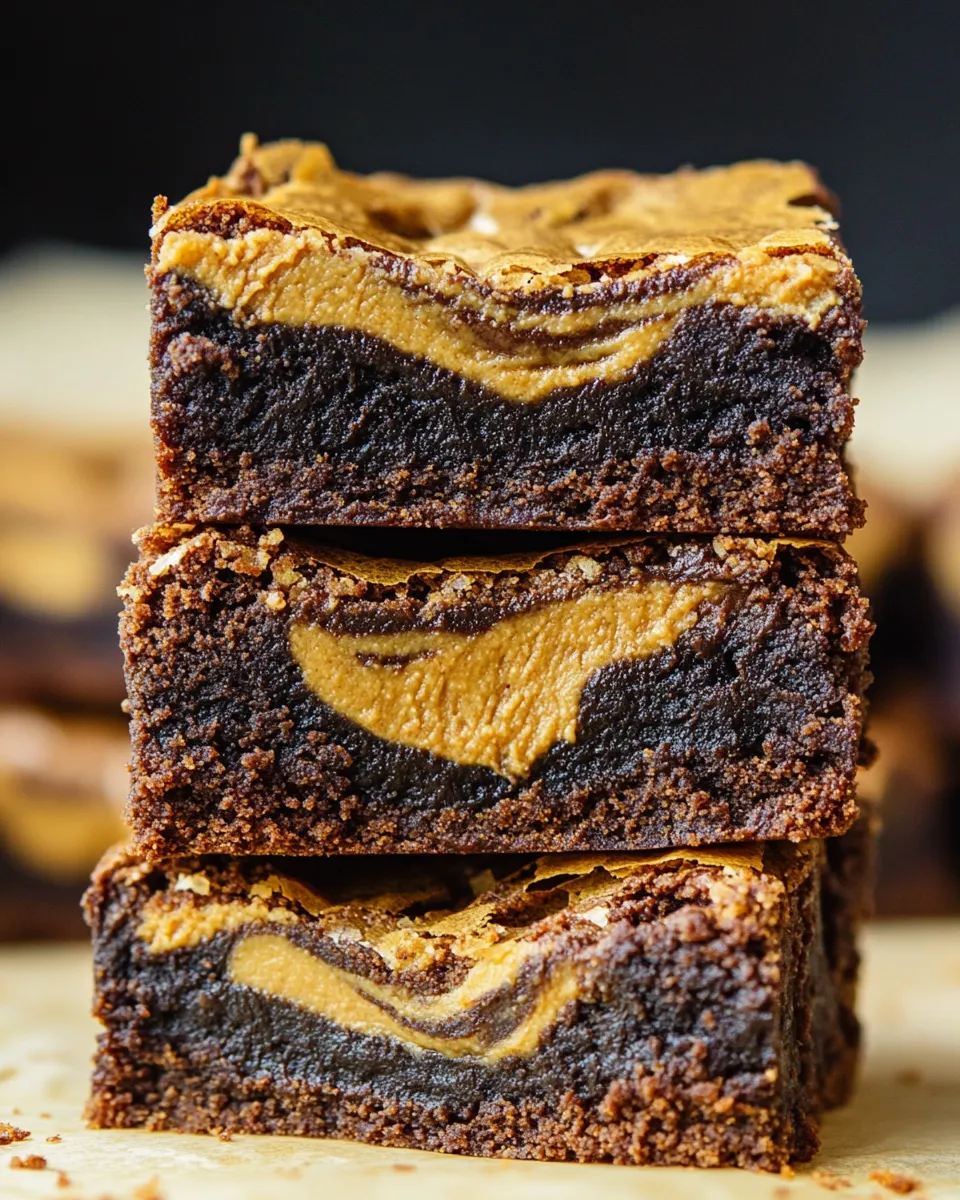
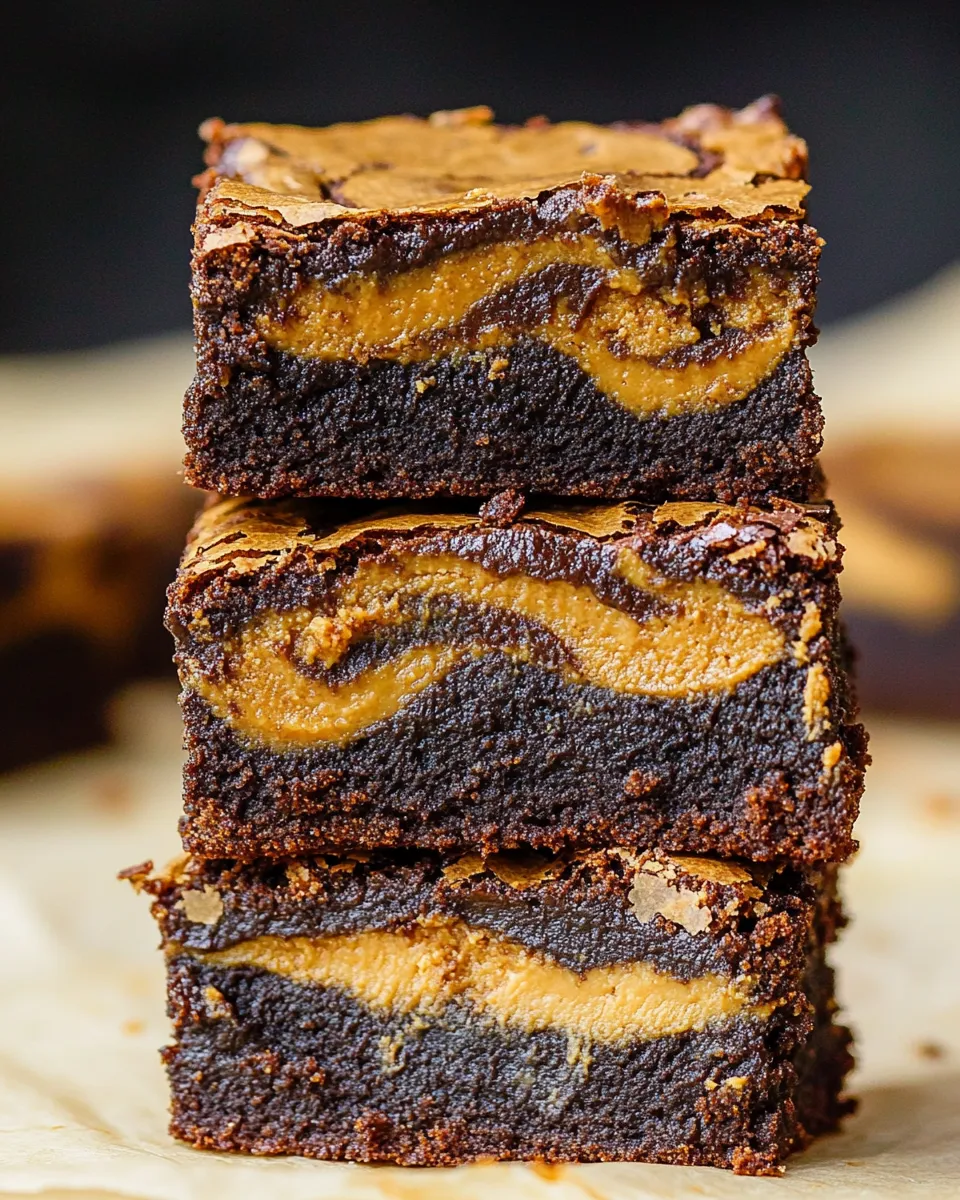
These Biscoff brownies deliver everything you crave in a dessert fudgy texture rich chocolate flavor and that irresistible cookie butter swirl. There is a double layer of Biscoff magic with a crunchy cookie crust on the bottom and creamy Biscoff running through every bite on top. Each bar is a decadent treat that is always the first to disappear from the snack table.
I remember the first time my family tasted these brownies after a cozy winter dinner everyone went back for seconds I have never loved an empty baking pan so much
Ingredients
- Biscoff cookies crushed for the crust: The base gives a caramelized crunch Look for cookies that are still crisp when you crush them
- Salted butter melted and cooled: The added salt balances the sweetness Try to use high quality butter for the richest flavor
- Eggs at room temperature: Helps create a smooth batter For best results set the eggs out about an hour ahead
- Granulated sugar for sweetness: Gives the brownies lift and structure Choose fine white sugar so it dissolves easily
- Light brown sugar packed for moisture: Deepens the caramel notes and keeps brownies extra fudgy
- Vanilla extract or vanilla bean paste: Adds warmth and rounds out the chocolate flavor Go for pure vanilla for best taste
- All-purpose flour just enough for structure: Use fresh flour that has not clumped
- Unsweetened baking cocoa: Delivers deep chocolate flavor Choose a high quality Dutch process cocoa for a richer brownie
- Baking powder tiny amount for a slight lift: Make sure it is not expired
- Smooth Biscoff spread for swirling: Adds gooeyness and big flavor Fresh spread is easiest to swirl
Step-by-Step Instructions
- Prepare the Pan:
- Line an eight inch square metal baking pan with parchment paper so the brownies are easy to remove after baking Press the paper firmly into the corners
- Make the Biscoff Cookie Crust:
- Mix the crushed Biscoff cookies with melted salted butter until evenly moistened Press the mixture into the lined pan using the back of a large spoon Aim for an even firm layer touching all corners for a reliable crust
- Whip Eggs and Sugars:
- Combine eggs granulated sugar and brown sugar in a large mixing bowl Use a hand or stand mixer and mix on high for one minute The mixture will lighten in color and take on a creamy texture This step helps give that shiny crackly brownie top
- Add Melted Butter and Vanilla:
- Pour in the melted cooled butter and vanilla Mix on medium speed until fully combined and glossy
- Combine Dry Ingredients:
- Sift the flour cocoa and baking powder over the egg mixture Sifting prevents lumps and gives a smoother batter
- Fold Wet and Dry Mixures:
- With a rubber spatula gently fold the dry ingredients into the wet until you see just a few streaks of flour left Do not overmix so the brownies stay soft
- Assemble the Brownies:
- Pour the brownie batter over the prepared cookie crust and spread it into one even layer Be gentle so you do not disturb the crust
- Swirl in Biscoff Spread:
- Warm the Biscoff spread in the microwave for ten seconds until just pourable Dollop the spread over the batter Spoon and swirl with a butter knife to create attractive marbled patterns
- Bake:
- Place pan on the center oven rack Bake at three hundred fifty degrees Fahrenheit for twenty two to twenty five minutes The right time is when edges are set the top is shiny and a toothpick comes out with moist crumbs but not raw batter
- Cool Completely:
- Let brownies cool fully in the pan before cutting This can take one hour or more Brownies are much neater to slice when cold
 Pin it
The Biscoff swirl is my favorite part every portion is a bit different and I always hope for the corner piece with extra cookie butter Once my nephew tried to negotiate for that piece it is now a running family joke
Storage tips
Store brownies in an airtight container at room temperature for up to three days They keep their chewiness best if wrapped tightly If you want longer storage freeze brownies uncut for up to two months Wrap individually for grab and go treats
Ingredient substitutions
For an eggless version swap eggs with two flaxseed eggs You can also use a different cookie butter like speculoos if Biscoff is unavailable For a gluten free treat use your favorite gluten free flour and cookies
Serving suggestions
Serve as is for an afternoon pick me up Stack them into lunchboxes or picnic baskets For dessert heat a square for ten seconds and top with vanilla ice cream or drizzle with chocolate sauce
 Pin it
Frequently Asked Questions
- → How should I store biscoff brownies for maximum freshness?
Keep brownies in an airtight container at room temperature for up to three days. For extended storage, place in the freezer, wrapped well, for up to two months.
- → Can I double the batch for a crowd?
Absolutely! Double all listed ingredients and use a 9x13-inch pan. Bake at 350°F for 25-30 minutes until set.
- → What’s the secret to a glossy, crisp brownie top?
Be sure to whip eggs and sugars until light and creamy before mixing in the remaining ingredients for that signature textured surface.
- → How can I achieve clean brownie slices?
Chill brownies fully, then use a sharp knife dipped in hot water and wiped dry between each cut for neat, tidy edges.
- → Can these bars be made eggless?
Yes! Replace eggs with two flaxseed eggs for an egg-free version—texture remains moist and chewy.
- → Are metal or glass pans better for these bars?
Metal pans are ideal for even baking. If using glass, lower the temperature by 25°F to avoid over-baking.