 Pin it
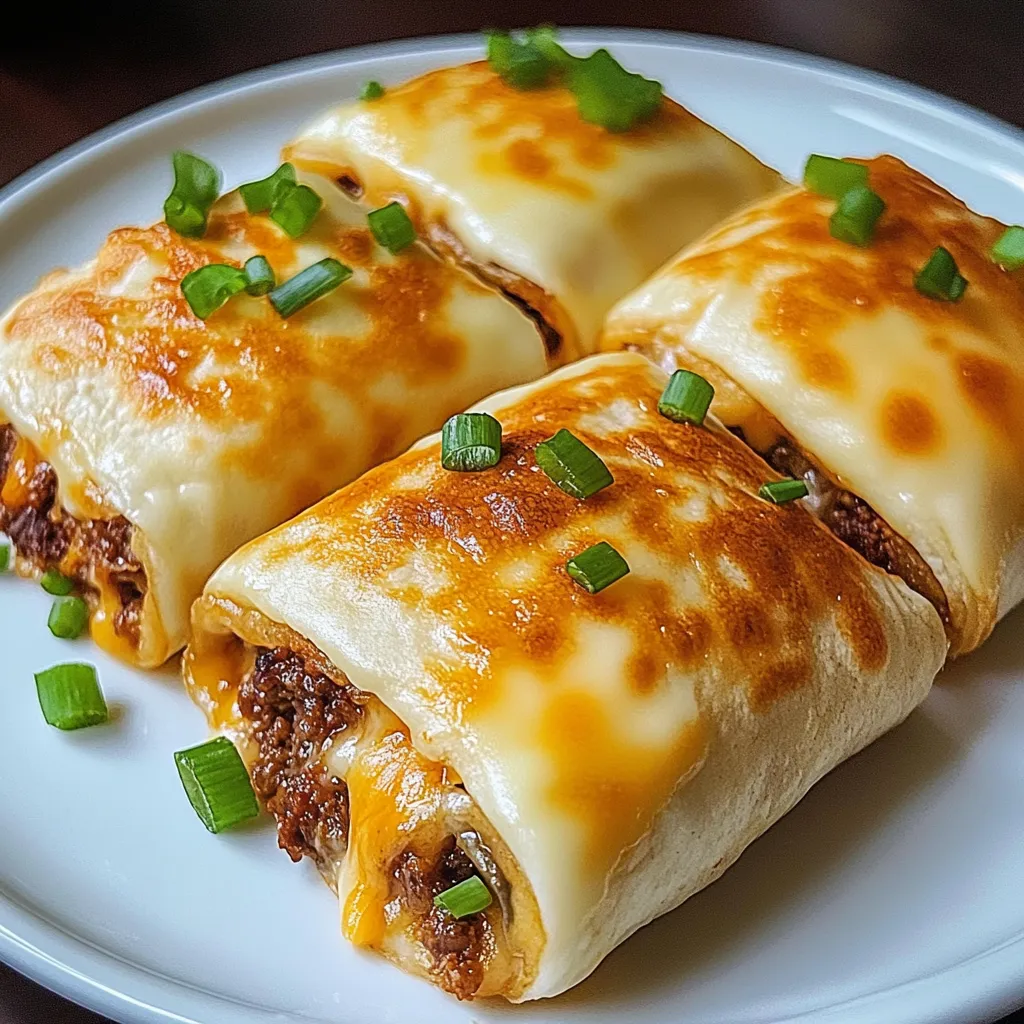
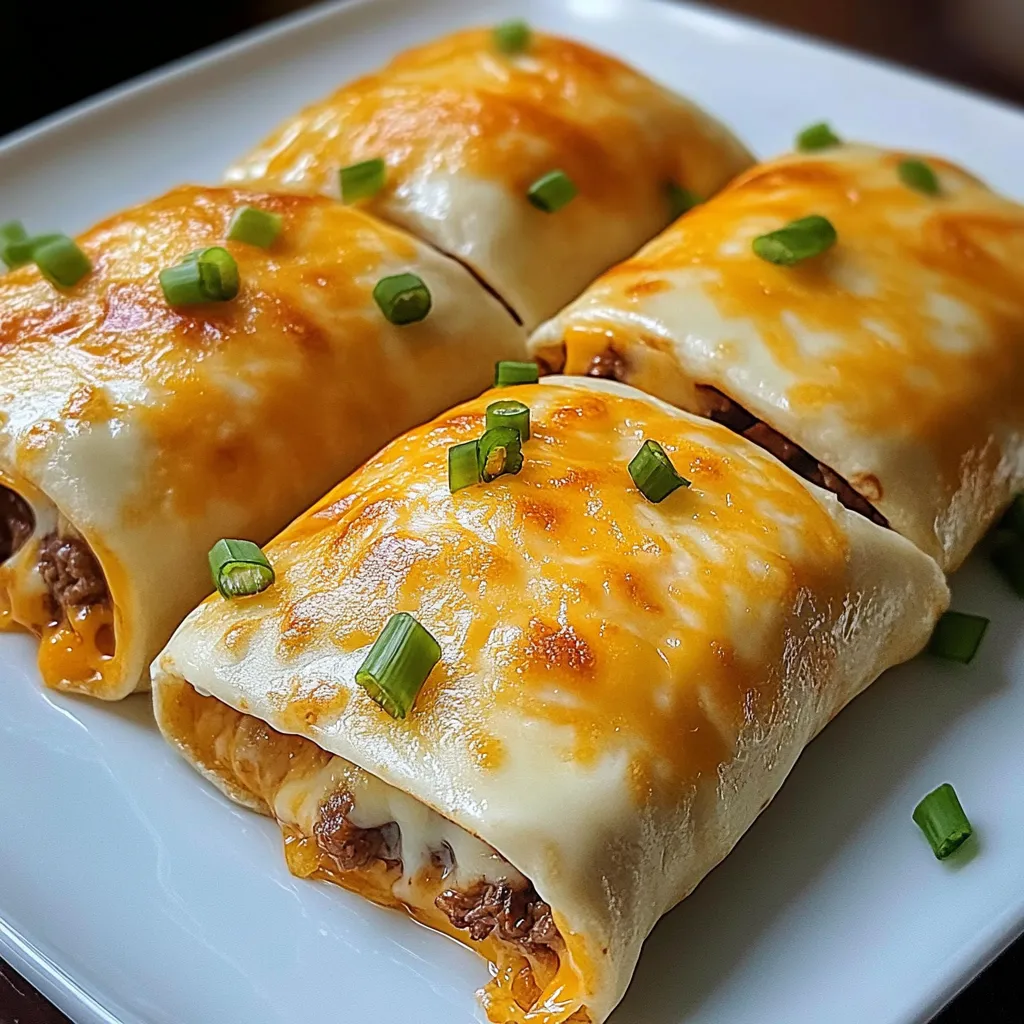
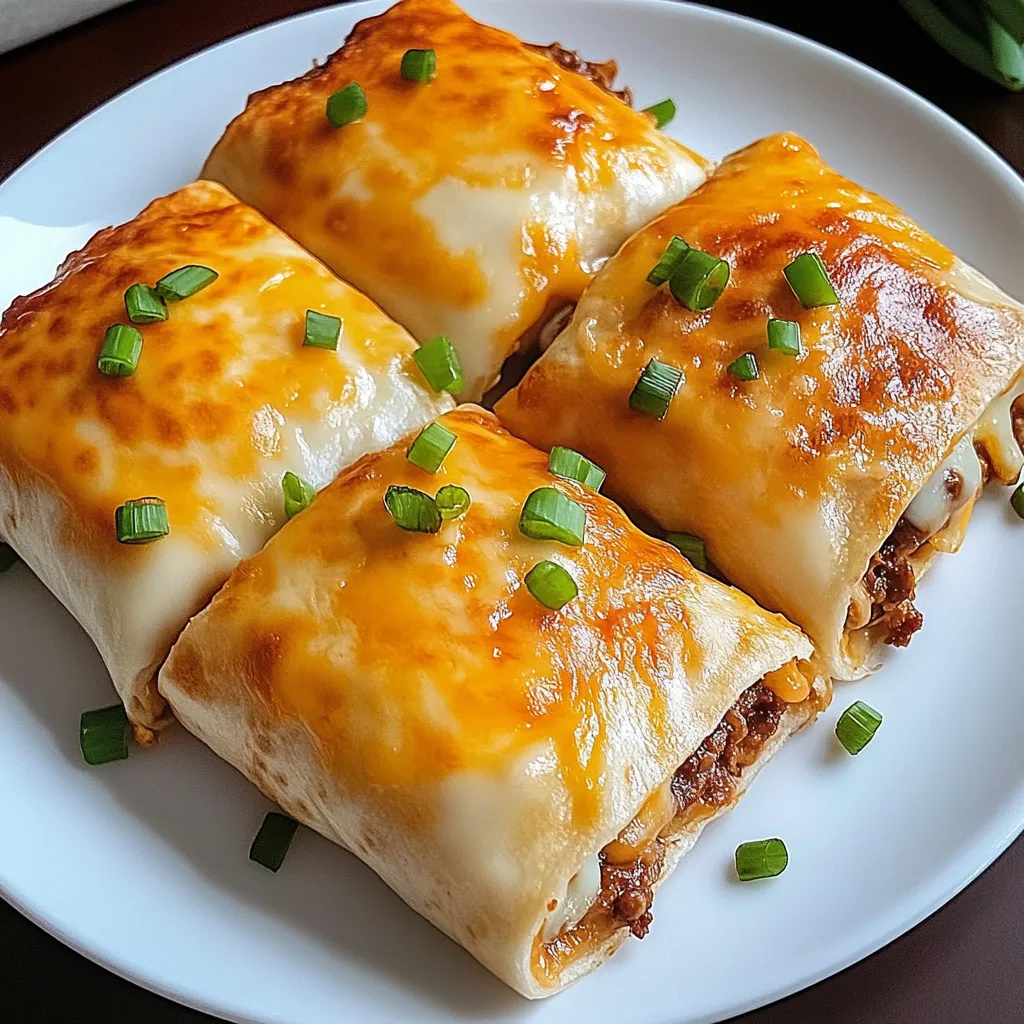
This cheesy pocket taco recipe is one of those weeknight saviors that you can throw together fast without sacrificing flavor. It combines creamy and spicy fillings in a hand-held shell that’s easy to prep and even easier to eat. I always whip these up when I need a crowd-pleaser that doesn’t demand much cleanup.
I made these for the first time during a last-minute game night and everyone was grabbing seconds before halftime even ended. Now they’ve become a standing request at every casual gathering.
Ingredients
- Taco seasoning packet: adds instant flavor and saves time
- Ground beef: choose lean cuts for less grease and more meaty flavor
- Salsa: brings moisture and just the right amount of kick
- Cream cheese: softened to blend smoothly and create a creamy base
- Melted butter: helps the tortillas turn golden and crisp in the oven
- Shredded Cheddar cheese: choose a sharp variety for more punch
- Six inch tortillas: make the perfect size for pockets and hold the filling well
Step-by-Step Instructions
- Brown the Beef:
- Place a skillet on medium heat and add the ground beef Cook it slowly while breaking it apart until it loses its pink color and starts to brown fully Drain off the extra grease to avoid soggy tacos
- Season the Beef:
- Sprinkle the taco seasoning over the beef and stir thoroughly Let it simmer with a bit of water as directed on the packet to fully infuse the spices into the meat
- Prepare Cream Cheese Mixture:
- In a clean mixing bowl beat the softened cream cheese until smooth and fluffy Mix in the salsa slowly until you get a creamy and even mixture that can be spread easily
- Assemble the Tacos:
- Lay a tortilla on a clean surface Spread a spoonful of the cream cheese mixture in the center Add a layer of seasoned beef then finish with a handful of shredded Cheddar cheese
- Form the Pocket:
- Fold each tortilla tightly into a pocket style similar to a burrito Tuck in the edges so the filling stays sealed while baking
- Prep for Baking:
- Set the oven to three hundred fifty degrees Spray a baking tray lightly with cooking spray Place each filled tortilla on the tray and brush the tops with melted butter
- Bake:
- Place the tray in the oven and bake for fifteen minutes Watch for a golden color and crispy finish on the tortillas Remove from the oven and let them cool for a few minutes before serving
 Pin it
My favorite part of this recipe is the cream cheese layer It melts into the beef and gives each bite a rich and creamy finish The first time I made it my youngest declared it the best taco ever and now it is our official Friday night treat
Storage Tips
Store any leftovers in an airtight container in the fridge for up to three days To reheat use a toaster oven or skillet to keep the crisp texture rather than microwaving
 Pin it
Ingredient Substitutions
You can swap ground beef with ground turkey or chicken for a lighter version Use Greek yogurt in place of cream cheese if you want a tangier and lower fat option
Serving Suggestions
Serve these with a simple side salad or some Spanish rice They also go great with a bowl of guacamole or sour cream for dipping
Cultural Context
These tacos blend American comfort food with the quick flavors of Tex Mex They offer the cheesiness of American food in a format inspired by traditional taco flavors
Frequently Asked Questions
- → Can I use a different meat besides ground beef?
Yes, ground turkey or chicken can be used as leaner alternatives without sacrificing flavor.
- → What type of salsa works best?
Use a thick, chunky salsa for a richer texture and to avoid sogginess in the tortilla.
- → How do I prevent the pockets from opening while baking?
Folding the tortillas tightly and placing them seam-side down on the tray helps them stay sealed.
- → Can these be made ahead of time?
Yes, assemble in advance and refrigerate. Bake just before serving for the best texture.
- → Is there a vegetarian version?
Swap ground beef for seasoned beans or meat alternatives to create a satisfying meat-free version.
