
 Pin it
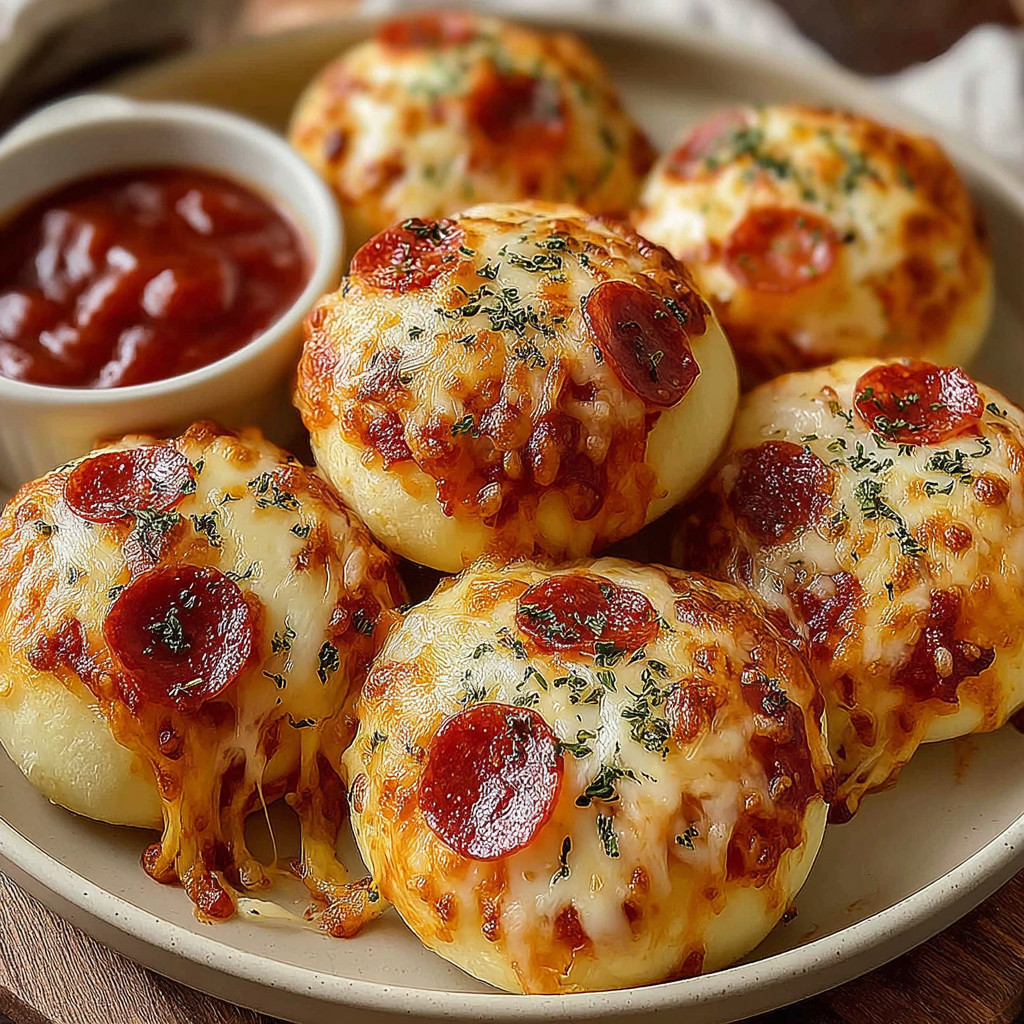
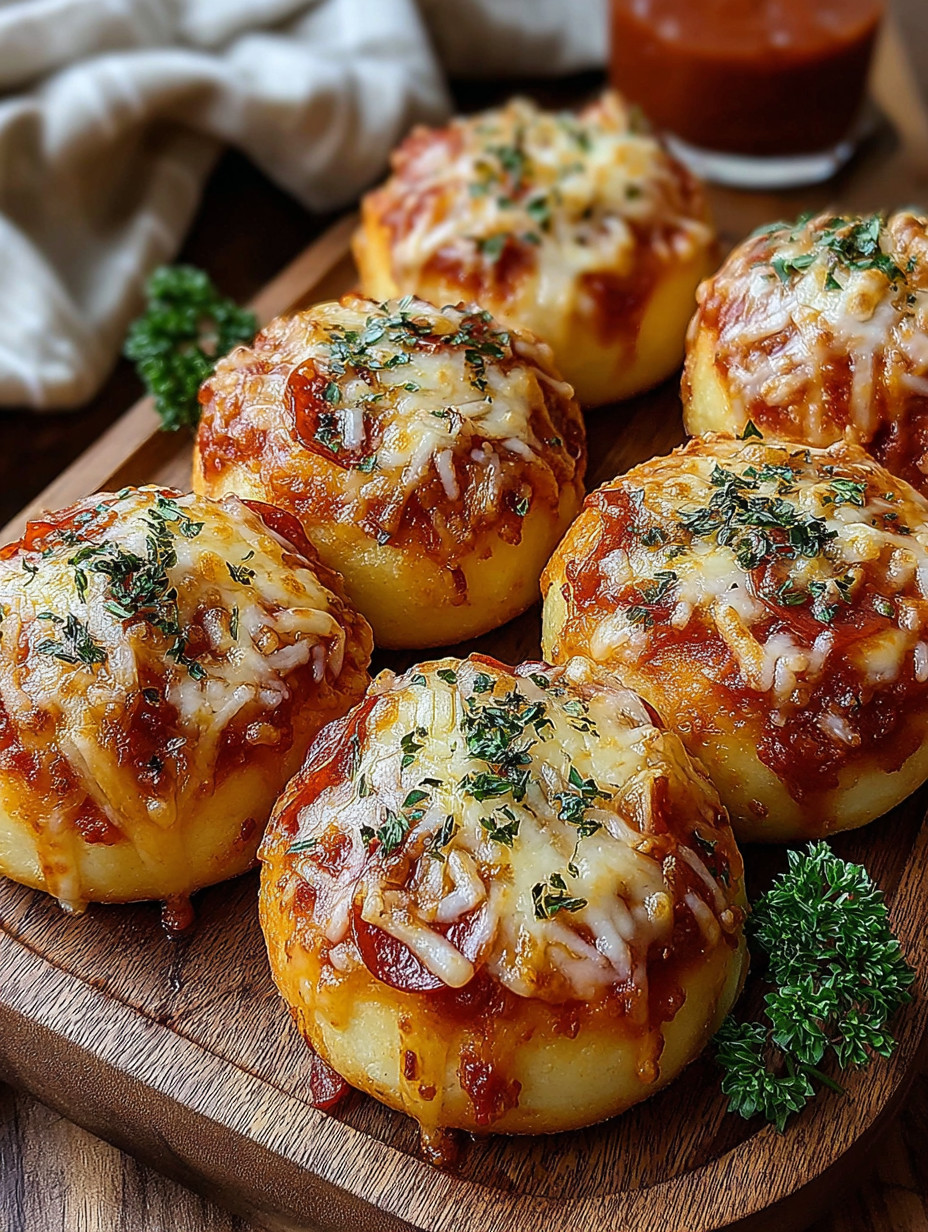
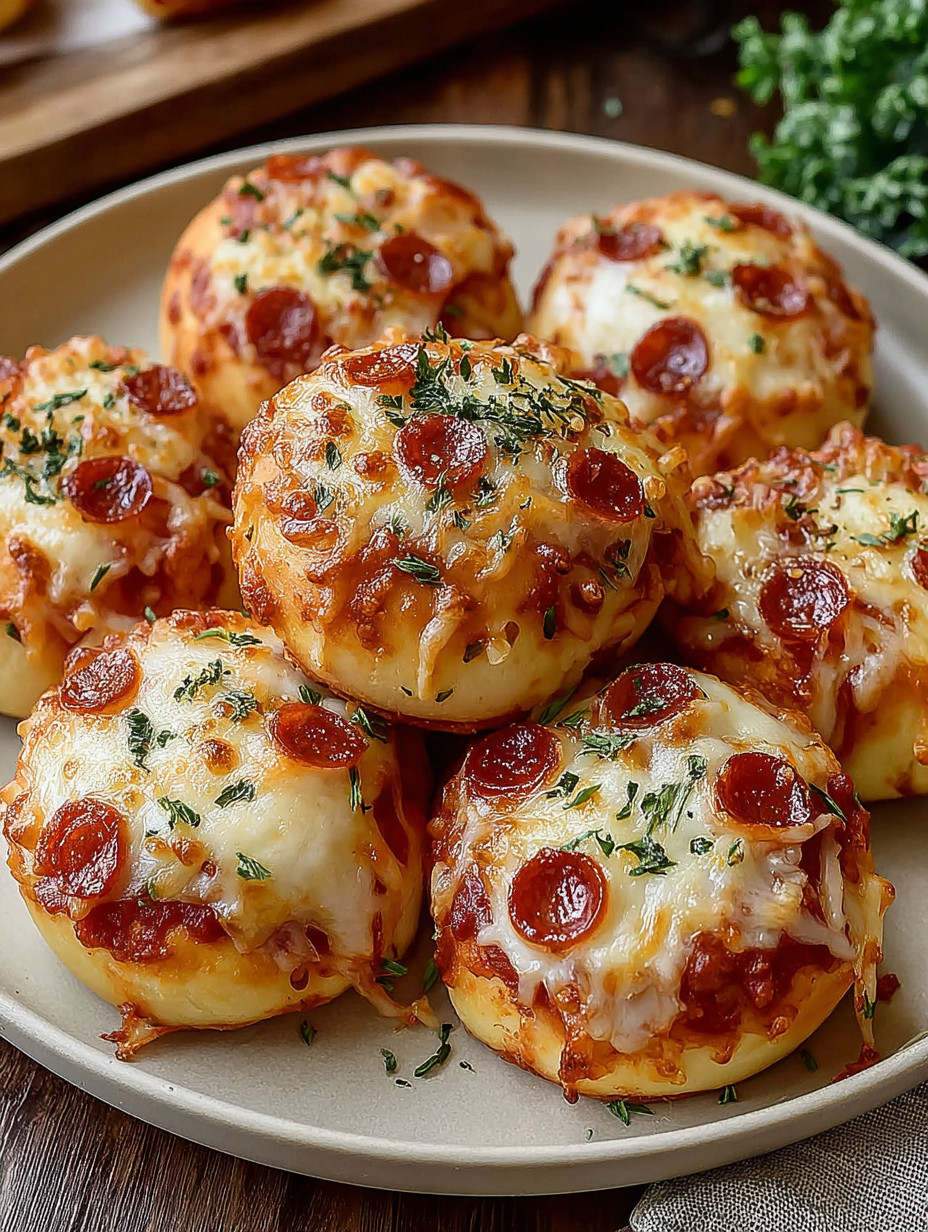
These stuffed pizza snacks are soft biscuit dough pockets filled with melty cheese, tangy pizza sauce, and spicy pepperoni. They bake quickly and are perfect for a fun snack or easy party treat that everyone will enjoy. The recipe is beginner-friendly, making it a great option when you want something tasty without too much fuss.
I first tried these when I needed a quick snack for a game night. They disappeared so fast that they've become my go-to treat whenever friends come over.
Ingredients
- Refrigerated biscuit dough: provides a soft and fluffy crust easy to work with, choose fresh cans for light texture
- Pizza sauce: adds rich tomato flavor, use a good quality jar or homemade if possible
- Mozzarella cheese: melts beautifully for gooey centers, shredded cheese works best for even distribution
- Italian seasoning: brings classic pizza herb notes, fresh or dried can be used but fresh adds a subtle brightness
- Pepperoni pieces: add a savory and slightly spicy punch, chop larger slices so every bite has some
- Butter: gives a golden, flavorful crust when brushed on top, use unsalted for control over saltiness
- Parmesan cheese: adds a nutty, salty finish on the crust, freshly grated tastes best
Step-by-Step Instructions
- Slightly warm the oven and prepare your baking surface:
- Set the oven to 375 degrees Fahrenheit (190°C) to preheat. Lightly grease a baking sheet or use a muffin tin sprayed with non-stick spray to keep the dough from sticking.
- Shape the biscuit dough:
- Take each biscuit from the can and gently stretch or roll it into a circle about 4 inches across. You can use your hands or a rolling pin to get an even thickness without tearing the dough.
- Add the filling:
- Place about one teaspoon of pizza sauce in the center of the flattened biscuit. Sprinkle a small handful of mozzarella cheese over the sauce. Scatter a few pieces of pepperoni on top to cover.
- Seal the pizza bombs:
- Carefully bring the edges of the dough up around the filling, pinching them together tightly so no cheese can leak out while baking. Make sure there are no gaps or holes in the seams.
- Arrange and top before baking:
- Place each sealed dough ball seam-side down on your prepared pan or muffin tin sections, leaving some space between each one. Brush each top with melted butter. Sprinkle grated Parmesan cheese and a pinch of Italian seasoning over the butter for extra flavor.
- Bake until golden and cooked through:
- Put the tray in the oven and bake for 12 to 15 minutes. The tops should be nicely golden brown and the dough fully cooked. Remove and let cool for a few minutes so the cheese fills don't burn your mouth.
- Serve and enjoy warm:
- These pizza bombs are best served warm with extra pizza sauce on the side for dipping. They are fantastic finger foods for parties or a quick kid-friendly meal.
 Pin it
Mozzarella is my favorite part - it melts perfectly and pulls away in long, gooey strands that make these little pockets extra fun. I have fond memories making these with my kids because everyone gets to pick their own toppings and enjoy the fresh-out-of-the-oven magic together.
Storage Tips
Store any leftovers in an airtight container in the refrigerator for up to three days. Reheat in the oven or toaster oven to keep the crust crispy rather than microwaving which can make them soggy. For longer storage, freeze the baked pizza bombs on a tray first, then transfer to a zip-top bag for up to a month.
Ingredient Substitutions
Try turkey pepperoni or cooked sausage pieces for a leaner or different protein option. Use a plant-based cheese for a dairy-free version - make sure it melts well for the best texture. Swap Italian seasoning with dried basil or oregano if you prefer simpler herb flavors. If you can’t find biscuit dough, pizza dough or puff pastry sheets can be alternative bases, though the texture will vary slightly.
 Pin it
Serving Suggestions
These stuffed pizza snacks pair wonderfully with a fresh green salad or crunchy carrot sticks for a balanced bite. Serve with a variety of dipping sauces like ranch, garlic butter, or a spicy marinara for more flavor options. They make an ideal finger food for game nights, kids’ parties, or casual dinners when paired with soup or salad.
Frequently Asked Questions
- → What type of dough works best for these snacks?
Refrigerated biscuit dough is ideal as it’s soft, easy to stretch, and browns nicely in the oven.
- → Can I use different toppings inside the dough balls?
Absolutely! Feel free to swap pepperoni for sausage, veggies, or any pizza toppings you prefer.
- → How do I ensure the dough balls don’t burst open while baking?
Seal the edges tightly by pressing them well together so the cheese and sauce remain inside during baking.
- → Is it better to bake these in a muffin tin or on a baking sheet?
Both work well. Muffin tins help maintain shape and space between each ball, but a baking sheet can also be used if greased properly.
- → What’s a good way to serve these once baked?
Serve warm with extra pizza sauce on the side for dipping, enhancing the cheesy, savory flavors.
- → Can I prepare the dough balls ahead of time?
Yes, you can assemble and refrigerate them before baking to save time later.